Woodworking has undergone a dramatic transformation in recent decades. Whereas once the scene was dominated by massive stacks of clamps and hydraulic presses weighing tonnes, today an invisible yet relentless force ensures perfection: atmospheric air pressure.
The vacuum press is no longer merely a luxury item for the modern joinery workshop, but the key to the cost-effective production of complex designer furniture. Whether it’s the precise application of fine veneers or the bending of extreme radii – those who understand the physics of the vacuum take their craft to a new level.
The physics behind perfection: How the vacuum press shapes wood
It is a common misconception that the vacuum pump ‘pulls’ the workpiece together. From a physical perspective, the pump creates a space with reduced pressure, whereupon the atmospheric air pressure from outside takes over. At maximum vacuum, a force of approximately 9 tonnes per square metre acts on the workpiece.
Expert insight: Whilst a screw clamp exerts pressure only at specific points – which can lead to deformation or uneven glue joints – the vacuum delivers isostatic pressure. This means that the pressure acts at every point on the workpiece – no matter how complex the curve – at exactly right angles to the surface. This virtually eliminates air pockets during veneering.
Key Takeaway: The vacuum press utilises atmospheric pressure to achieve an absolutely uniform pressure distribution of up to 9 t/m², something mechanical clamps are technically unable to achieve on free-form surfaces.
Vacuum press vs. vacuum bag: Which system suits your project?
In practice, craftspeople are often faced with a choice: The stationary vacuum press (usually with a folding frame) or the flexible
vacuum bag. Both have their merits, but the decision has a massive impact on the workflow.
1. The vacuum bag: The mobile all-purpose tool
The bag is ideal for extremely large or bulky workpieces that do not fit into a standard press. It is cost-effective and space-saving.
Counterintuitive tip: Always use a vacuum pad (such as a piece of fabric) inside the bag. Many users simply place the workpiece directly into the bag. Without a pad, the bag can seal the pump’s suction opening prematurely, before all the air has been evacuated from the corners.
2. The vacuum press: The king of efficiency
For daily veneering and batch production, the table is unbeatable. The workpiece is placed on the table, the membrane frame is closed – done. Set-up time is reduced by up to 70% compared to the bag.
Veneering at the highest level: Bubble-free results guaranteed
Veneering using vacuum pressure is the gold standard, as the pressure – unlike with hydraulic multi-stage presses – remains absolutely uniform even with minimal thickness tolerances in the substrate. However, the technology alone does not guarantee perfection; preparation is crucial.
Choosing the right adhesive: Open times and the risk of bleed-through
When using a vacuum press, the adhesive’s “open time” is more critical than with mechanical methods. As evacuating the air can take 30 to 90 seconds depending on pump capacity and workpiece size, the adhesive must offer a sufficiently long working time.
Expert tip: For light-coloured veneers (e.g. maple), use special PVAc glues with a high solids content to prevent the notorious “glue bleed” (the glue seeping through the pores to the surface). For dark woods, it is advisable to tint the glue with pigments to make light-coloured gaps in the pores invisible.
Preparing the substrate and the veneer
The substrate (MDF, multiplex or blockboard) must be meticulously cleaned of dust. Even a single grain of sawdust will show up like a ‘blemish’ on the fine veneer surface under the enormous pressure of the membrane.
Counterintuitive insight: Spray very brittle or warped veneers with a special softening solution (veneer softener) 24 hours before pressing. This makes the wood fibres flexible enough to mould themselves to the substrate without cracking as soon as the vacuum takes hold.
Key Takeaway: Perfect vacuum veneering requires thorough preparation and matching the open time of the adhesive to the pump’s evacuation speed. The isostatic pressure reliably prevents defects (Kürschner).
Mastery of contoured gluing: easily achieving complex radii
This is where the
vacuum press (diaphragm press) really comes into its own. Whilst contoured gluing with clamps often reaches the limits of physical strength and template precision, the vacuum presses the lamellae against the mould with mathematical uniformity.
Laminating vs. bentwood
For maximum stability in curved components, laminating (lamellation) is the only option. Springback is minimised, as each layer is laminated over its entire surface under full pressure.
Technical statistics: At a vacuum of -0.85 bar, a load of approx. 4.25 tonnes acts on a workpiece measuring 50 x 100 cm. This pressure is sufficient to force even stubborn thick veneers or 3 mm solid wood lamellas into tight radii.
Jig construction for vacuum pressing
A common mistake in jig construction is building them too solidly. As the pressure acts from above (through the membrane), the jig merely needs to be dimensionally stable, but does not need to withstand the massive counterforces of a hydraulic press.
Important note: Ensure the mould is adequately ventilated. Drill small holes in the cavities of the mould so that a uniform vacuum can be created there too.
Key Takeaway: Vacuum mould gluing allows for tighter radii and more complex geometries with significantly reduced jig effort compared to mechanical pressing methods (key point: no counter-jig!).
Practical guide: Step-by-step instructions for the first pressing process
Success in the
vacuum press is often determined within the first 60 seconds after switching on the pump. A structured procedure minimises the risk of waste when working with expensive precious woods.
1. Workpiece placement and venting paths
Place the workpiece (or mould template) centrally on the press table. A crucial expert tip: use venting channels. For flat components, a thin fibreglass mesh or a special suction fleece that extends to the suction nozzle is often sufficient. This ensures that the air escapes evenly beneath the membrane and prevents the formation of ‘air pockets’ that would locally reduce the pressing pressure to zero.
Columbus advantage: the vacuum presses are equipped with table tops that incorporate vent channels.
2. Closing and checking the membrane
When lowering the frame of the membrane press, ensure that the membrane lies over the workpiece without any tension. Particularly with high moulds for mould gluing, the membrane should have sufficient ‘thickness’ to wrap around the edges without extreme stretching.
Technical data: A high-quality rubber membrane has an elongation of up to 600%. However, excessive localised stress increases wear and the risk of micro-cracks.
3. Pressure build-up and monitoring
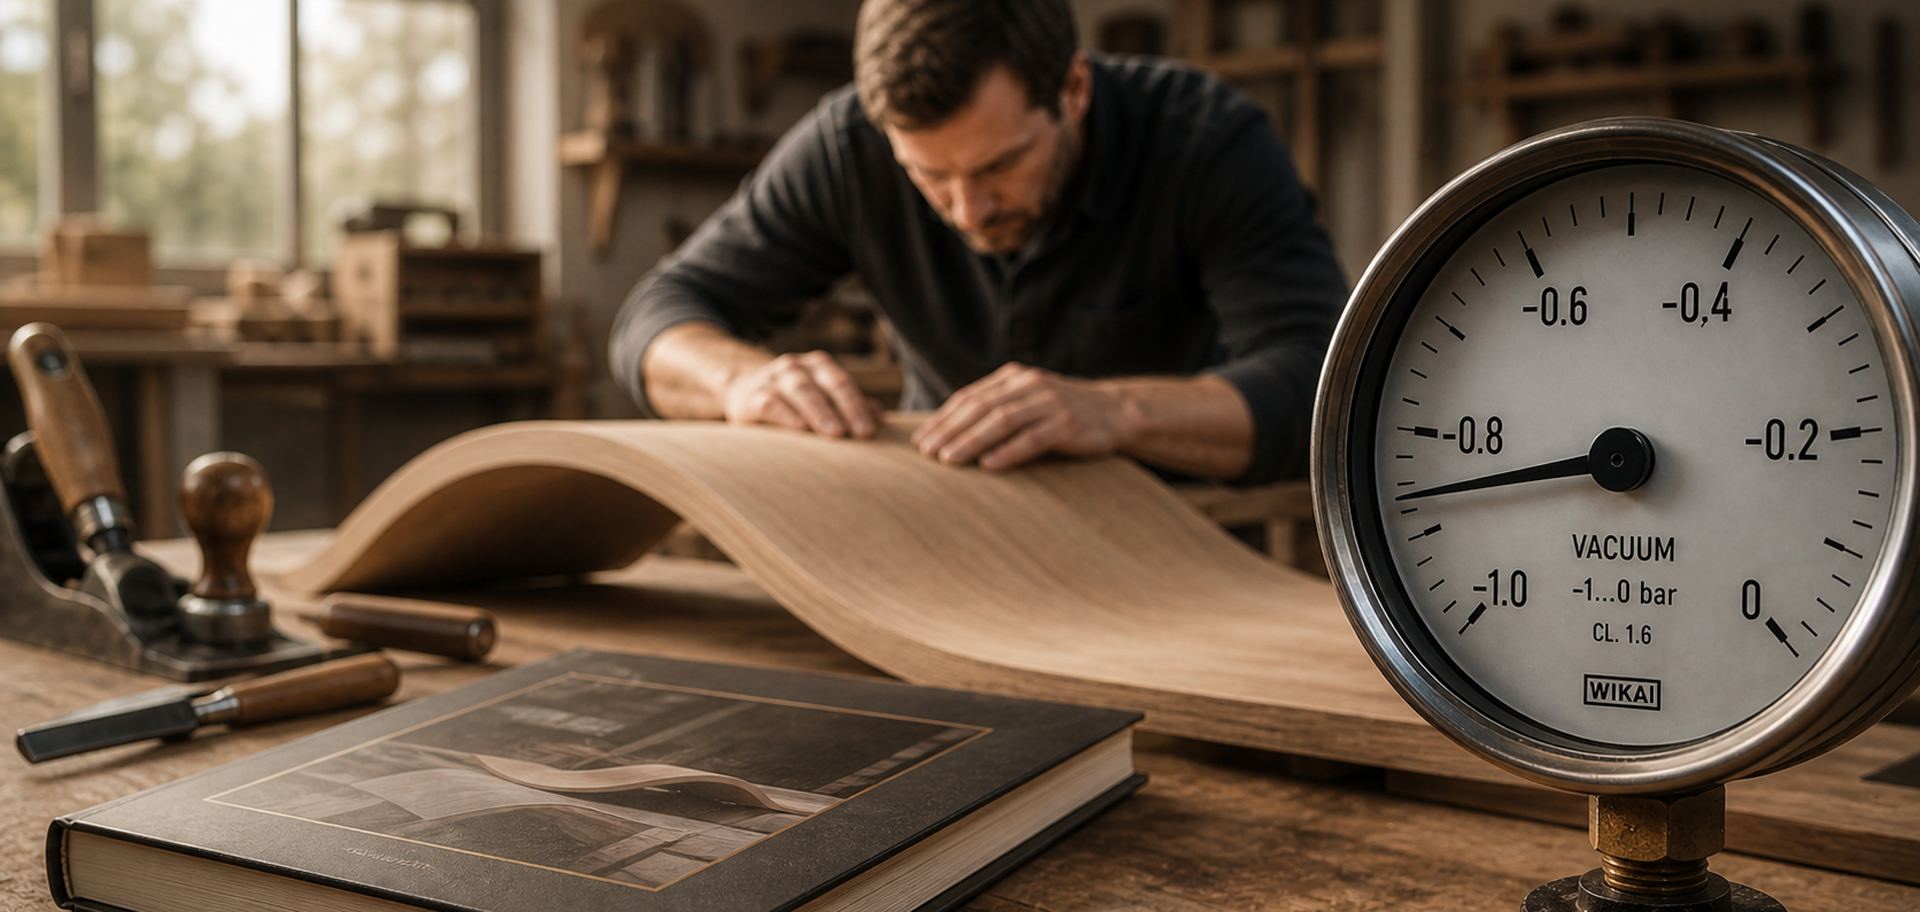
Switch on the vacuum pump. Monitor the pressure gauge. For most wood gluing applications, a final vacuum of -0.8 bar is ideal.
Counterintuitive tip: Do not switch off the pump immediately when the pressure gauge reaches the target value. The wood and the template ‘settle’ in the first few minutes. Modern systems (such as Columbus vacuum presses) feature automatic pressure monitoring that automatically top up the vacuum at the slightest drop.
Key Takeaway: A successful pressing process requires active venting routes to the extraction port and careful monitoring of the pressure gauge during the initial phase of glue setting.
Avoiding mistakes: The 5 most common problems with vacuum pressing
Even experienced joiners occasionally encounter problems. Here is the troubleshooting checklist:
- Vacuum not achieved: Check the frame seals. Tiny wood shavings at the edges often prevent a perfect seal. With vacuum bags: Look for small punctures caused by sharp edges on the workpiece.
- Veneer tears at the edges: This often happens with ‘brittle’ wood species. Solution: Round the edges slightly and pre-treat the veneer with veneer softener.
- Wavy surface (Kürschner): Usually a sign of too much glue or an open time that is too short. The glue begins to set before full vacuum is applied.
- Membrane is damaged: Always use shims (e.g. thin MDF boards or rubber mats) on workpieces with sharp edges to protect the membrane.
- Workpiece warps: Single-sided veneering creates asymmetrical tension. Always use a counter-tension veneer on the reverse side to maintain flatness.
Key Takeaway: Most errors in vacuum pressing are mechanical in nature (seal integrity) or result from incorrect glue management. A clean workbench is the best safeguard against defects.
Perfect curved lamination: Bending radii without springback
In traditional laminating with screw clamps, the ‘springback’ phenomenon is the greatest enemy of precision. As soon as the pressure is released, the wood tends to return to its original shape. The vacuum press eliminates this problem almost entirely.
Laminated gluing: Stable structure thanks to uniform pressing force
Because the pressure acts isostatically, the individual lamellae (usually 2–4 mm thick veneer or sawn veneer) are not only pressed into shape but are effectively wedged together.
Technical statistics: Studies in structural timber construction show that vacuum gluing at -0.9 bar results in up to 15% higher shear strength of the glue joint than unevenly distributed pressure using mechanical clamps.
Jig construction for membrane presses: Venting and stability
A fatal mistake is building an “airtight” jig. If air becomes trapped beneath the workpiece, back pressure builds up, ruining the result.
Counterintuitive expert tip: Drill tiny 1mm holes into the deepest points of your mould jig. These act as ‘vacuum channels’, ensuring that the membrane perfectly encloses the workpiece even in extreme inner radii.
Key Takeaway: Vacuum mould bonding minimises springback through uniform force distribution. Jig construction absolutely requires venting channels to prevent air pockets.
Step-by-step: The optimal pressing process in practice
To ensure the longevity of the membrane press and the quality of the workpiece, this workflow should become routine:
- Preparation: Check the membrane for residues. A single hard drop of adhesive on the inside can pierce a veneer during the next pressing.
- Positioning: Place the glued workpiece. For critical surfaces, use a shim (e.g. a 3mm HDF board) to redistribute the pressure.
- Use suction fleece: Place a strip of suction fleece from the workpiece to the suction port on the plate. This is the only way to ensure a fast and complete evacuation process.
- Starting the pump: Close the frame and start the pump. In the first few seconds, press the diaphragm lightly against the edges of the workpiece by hand to assist the ‘suction effect’.
Expert insight: “Listen to your pump. A rotary vane pump running dry changes its sound as soon as the target vacuum is reached. An irregular slurping noise almost always indicates a leak in the frame or a tear in the diaphragm.”
Key Takeaway: A systematic workflow, including cleaning and the use of extraction fleece, reduces set-up times and extends the service life of the valuable rubber diaphragm.
Troubleshooting: The 5 most common faults and their solutions
- Problem: Vacuum builds up too slowly.
Solution: Clean the sealing lips on the frame with a damp cloth. Layers of dust often prevent a perfect seal. - Problem: Veneer tears at sharp radii
Solution: Before gluing, use a damp sponge to make the veneer edges slightly (!) pliable, or slightly increase the radius of the template. - Problem: Visible marks on the surface.
Solution: Clean the backing board thoroughly. Use a soft brush instead of compressed air to avoid stirring up dust. - Problem: Membrane stretches unevenly.
Solution: Check whether the membrane is clamped too tightly on one side within the frame. Rubber needs ‘room to work’. - Problem: Adhesive bleed-through contaminates the membrane.
Solution: Place a barrier sheet (e.g. simple painter’s foil or silicone paper) between the veneer and the membrane.
Key Takeaway: Most problems can be prevented in advance through cleanliness and the correct use of spacers or barrier sheets.